Common PPF Installation Mistakes: How Experts Avoid These Issues
GET A QUOTECALL (770) 722-3486
Installing Paint Protection Film (PPF) can be a tricky task, and many newcomers to this craft often find themselves facing unexpected challenges along the way. It's easy to think that just slapping on a film will do the trick, but achieving a flawless finish requires careful attention to detail. Whether you're a seasoned pro or just starting out, understanding common pitfalls in PPF installation is essential for effective protection of your vehicle's surface. In this article, we'll explore the top mistakes made during installation, how experts steer clear of them, and practical tips to elevate your skills—ensuring that every application looks sharp and holds up against wear and tear.
Common PPF installation mistakes include improper surface preparation, misalignment of the film, creating bubbles and wrinkles, and incorrect trimming of edges. Experts avoid these issues by ensuring thorough cleaning of the vehicle’s surface, utilizing slip solutions for repositioning during application, employing proper squeegee techniques to eliminate air pockets, and using high-quality tools for precise cutting and securing edges.
Common Mistakes in PPF Installation
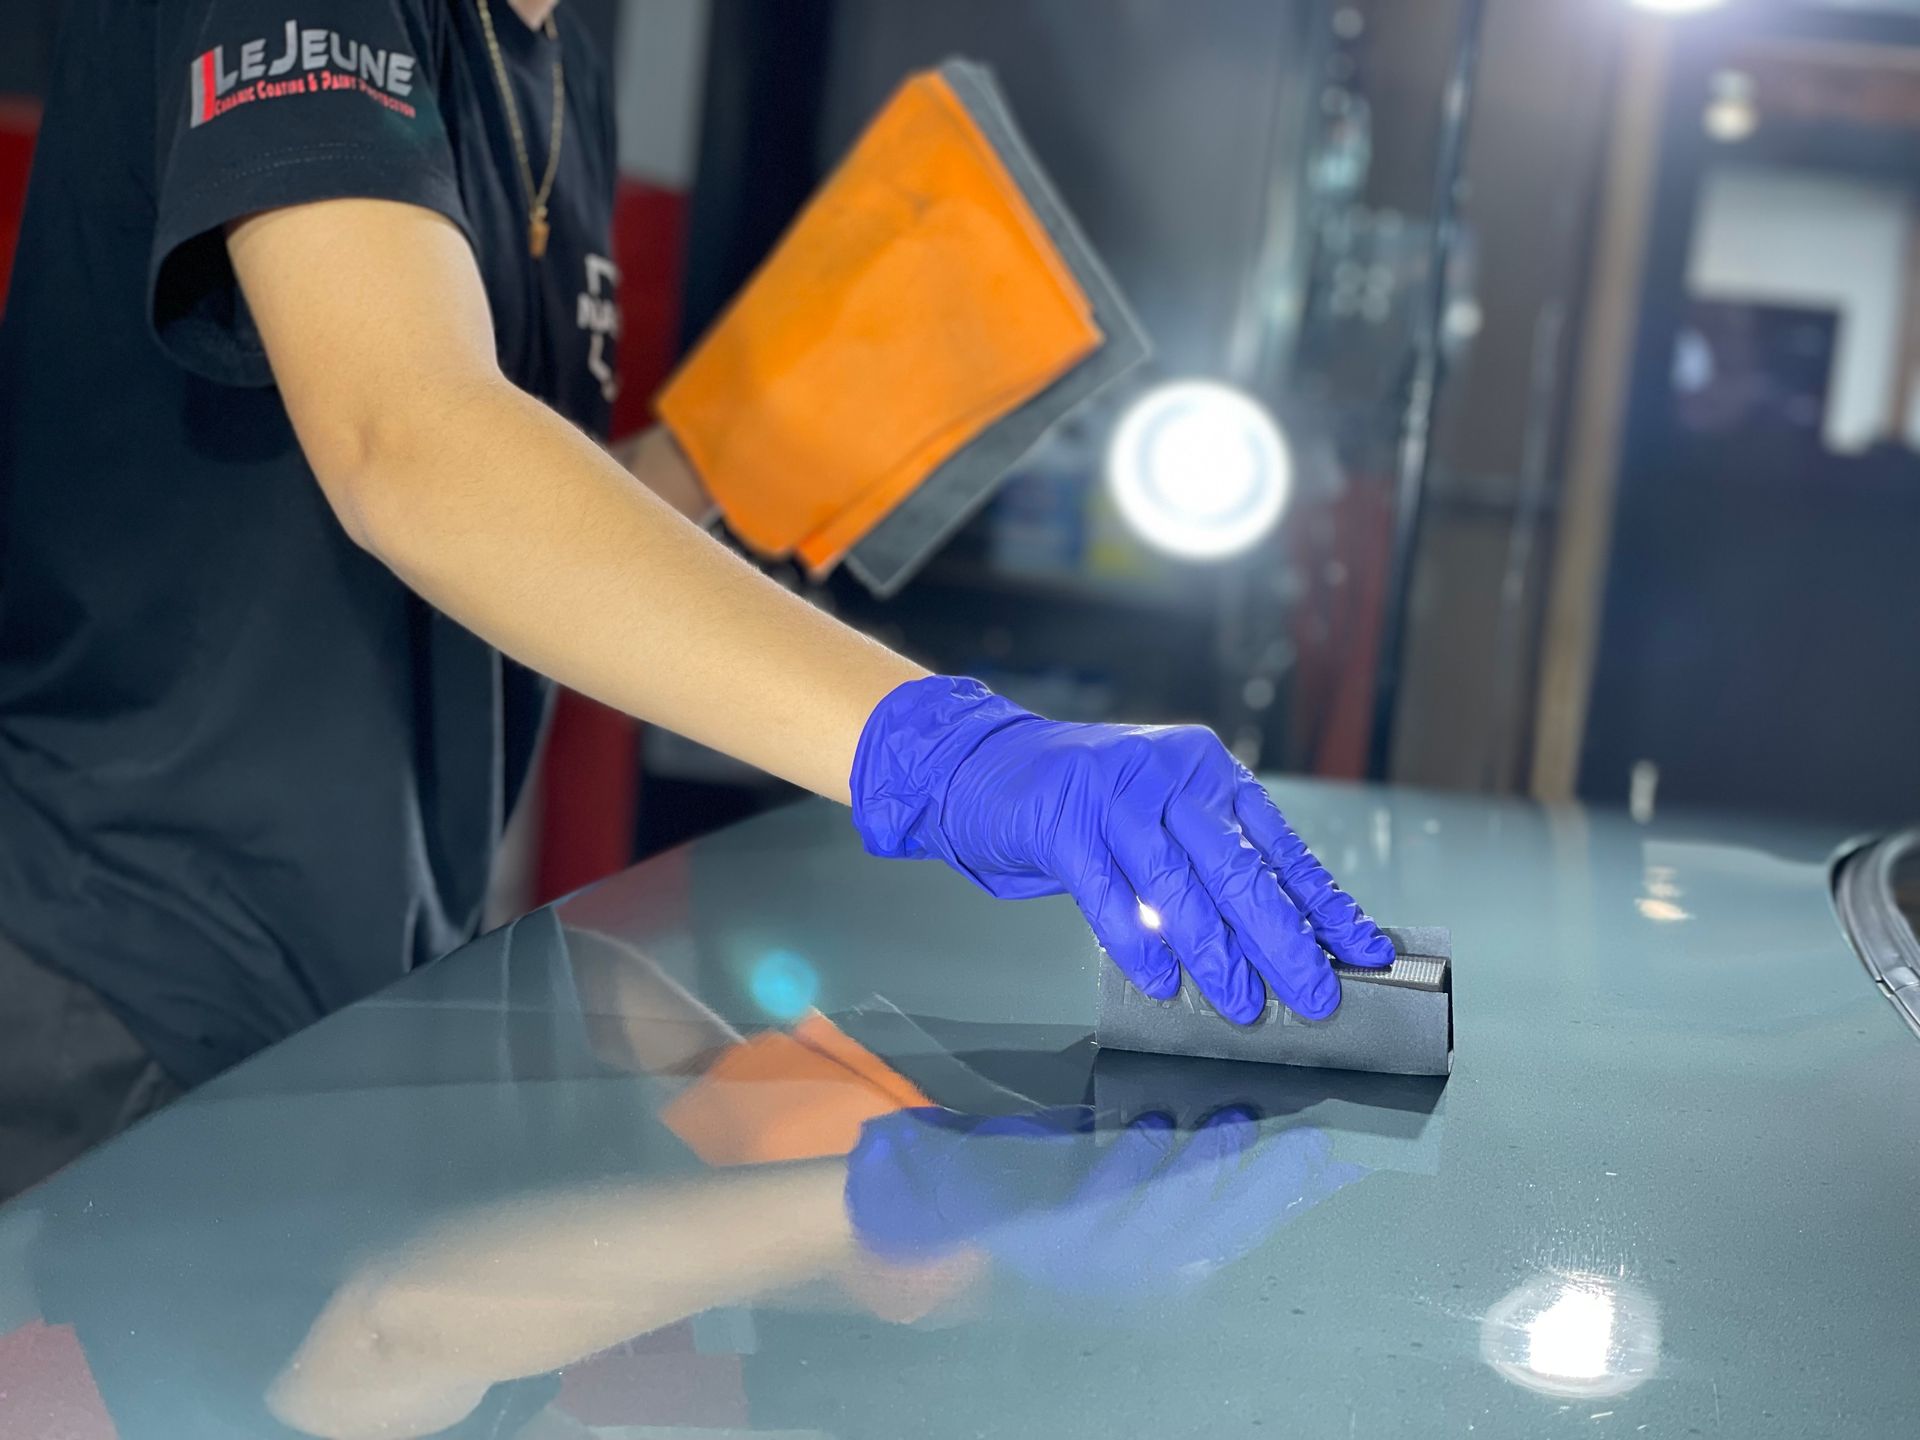
One of the major pitfalls encountered during Paint Protection Film (PPF) installation is improper surface preparation. The best work can be spoiled if the surface isn't meticulously cleaned beforehand. Neglecting this critical step can lead to bubbles and peeling, resulting in dissatisfaction and reduced adhesion.
To avoid this, start with an initial wash using high-quality car shampoo—think of this as sending the surface off for a clean shower. Then comes decontamination, where you'll want to use a clay bar to pull out any stubborn impurities still sticking around. Wrapping things up with a final wipe down using isopropyl alcohol ensures that the surface is residue-free and ready for application. It's worth noting that properly cleaned surfaces can reduce installation defects by as much as 50%.
Equally important is the issue of film misalignment. Even slight misalignment can create visible gaps, leaving painted areas exposed and vulnerable to damage. It’s like putting on shoes without lacing them correctly; they may fit, but they're not secure. To sidestep this problem, take your time during alignment. Utilize reference points on the vehicle while allowing yourself the chance to reposition before adhesion sets. A slippy solution can be invaluable here, enabling adjustments without damaging the film or the vehicle's surface.
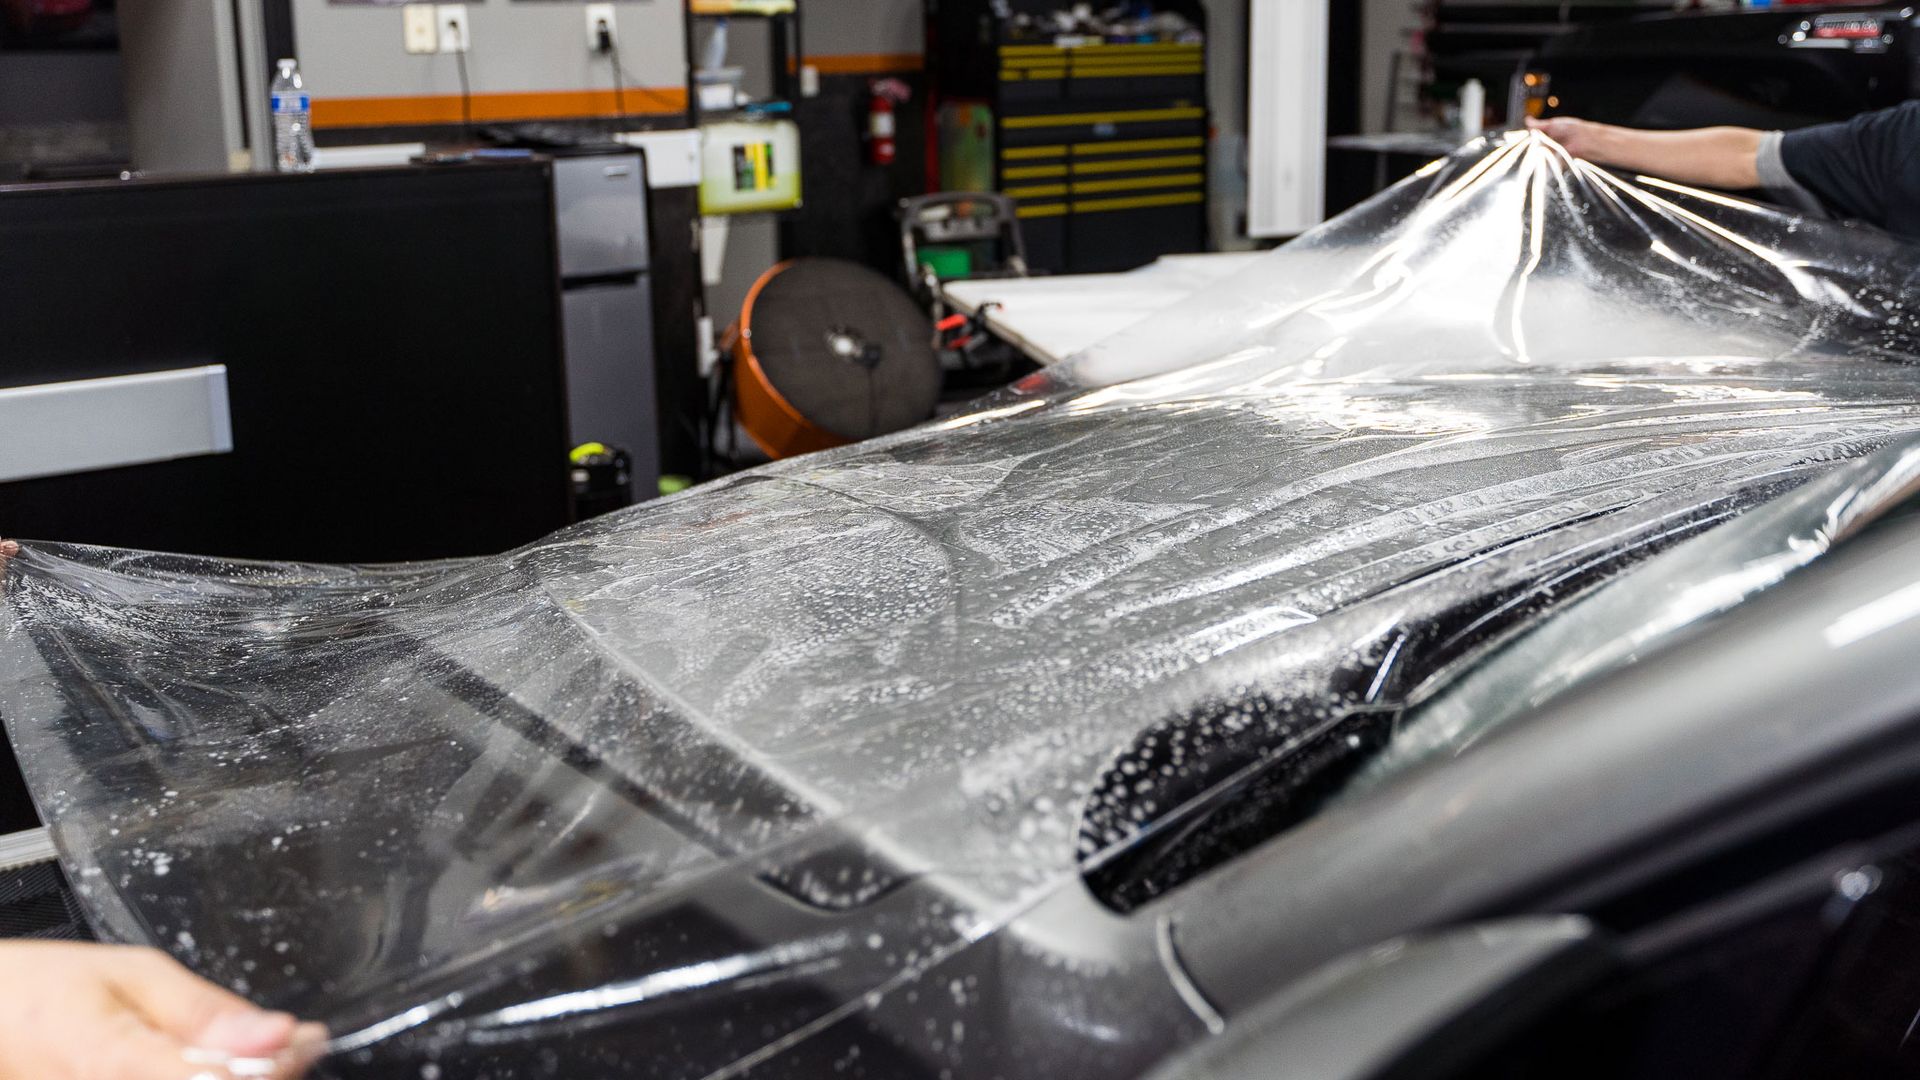
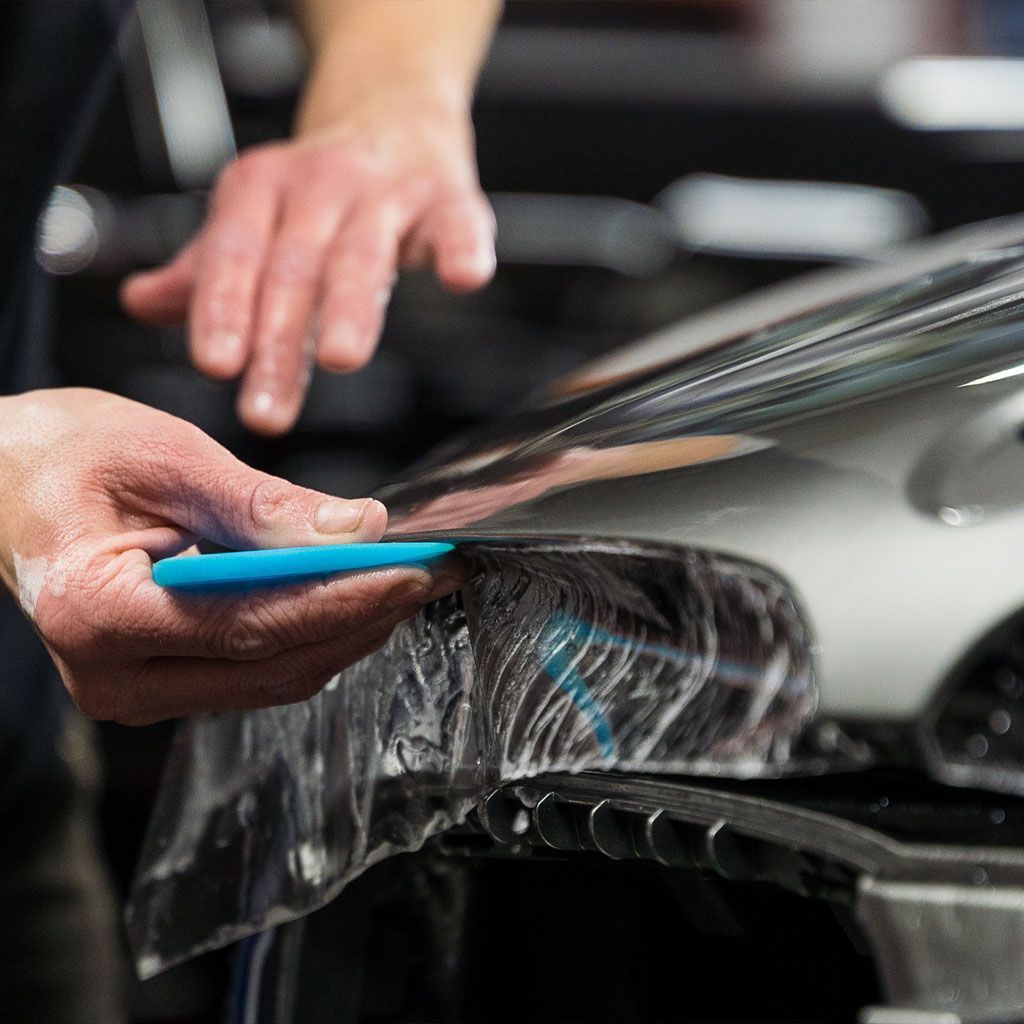
Another frequent challenge during application involves air bubbles and wrinkles forming under the film. This often occurs due to air trapped between the film and the vehicle or uneven stretching while applying it. To combat these issues, adopt a squeegee methodology where you press air bubbles from the center outward. Utilizing a slip solution can also help—spraying both the film and surface makes repositioning simpler.
Additionally, incorrect trimming and edging techniques can significantly affect the longevity of your PPF installation. Poor cutting might lead to peeling edges or unprotected areas—frustrating yet preventable. It’s essential to have high-quality cutting tools at your disposal and always aim to leave slight excess material for better sealing. This extra material aids in securing edges more effectively—the more you trim right at the edge, the more likely you'll encounter issues later on. When securing edges, remember that heat application plays a key role. Gently soften the edges with a low heat gun for flexibility in achieving a tighter fit. Finally, consider applying an edge sealer, which serves as an extra barrier against dirt infiltration.
As you hone your PPF skills, each mistake teaches something valuable; embrace these learning opportunities. Navigating through these common installation mistakes offers practical insights that elevate your craftsmanship while ensuring effective protection for your vehicle's surface. With these foundational principles in place, we now shift our focus to another critical aspect: ensuring surfaces are primed for success.
Surface Preparation Errors
When it comes to installing PPF, one of the biggest hurdles many beginners face is ensuring that the surface they’re working with is immaculate. Not just any clean will do; it requires specific steps to ensure success. Picture this: what happens when you try to paint a wall without first cleaning off dust and grime? You’d end up with uneven coverage and peeling paint. The same principle applies to PPF installation.
- Initial Wash: The journey begins with what might seem like a straightforward step: washing the surface of your vehicle. This isn't just about getting rid of visible dirt. Using a high-quality car shampoo is crucial because low-grade products can leave behind residues that compromise adhesion later on. Think of it like washing your favorite dish before cooking: if parts are still dirty, the food won’t stick well, leading to an unsatisfactory result. Consider this: high-quality shampoos not only clean but often contain lubricants that help lift dirt without scratching the paint.
- Decontamination: Once you've washed away the loose debris, it’s time for decontamination. If you’ve ever heard of a clay bar but haven’t used one, you’re missing out on a game-changer. A clay bar can grab microscopic particles that washing simply cannot touch—think of pollutants from the environment that settle into your paint's surface. These little guys can wreak havoc once you apply PPF if they aren't removed first. Imagine trying to lay down wallpaper over a textured wall versus a smooth one. The smoother the wall is, the better the wallpaper adheres. Similarly, removing impurities leaves an ultra-smooth canvas for PPF application. You’d be surprised how many installers skimp on this step, only to regret it when bubbles form under the film later on.
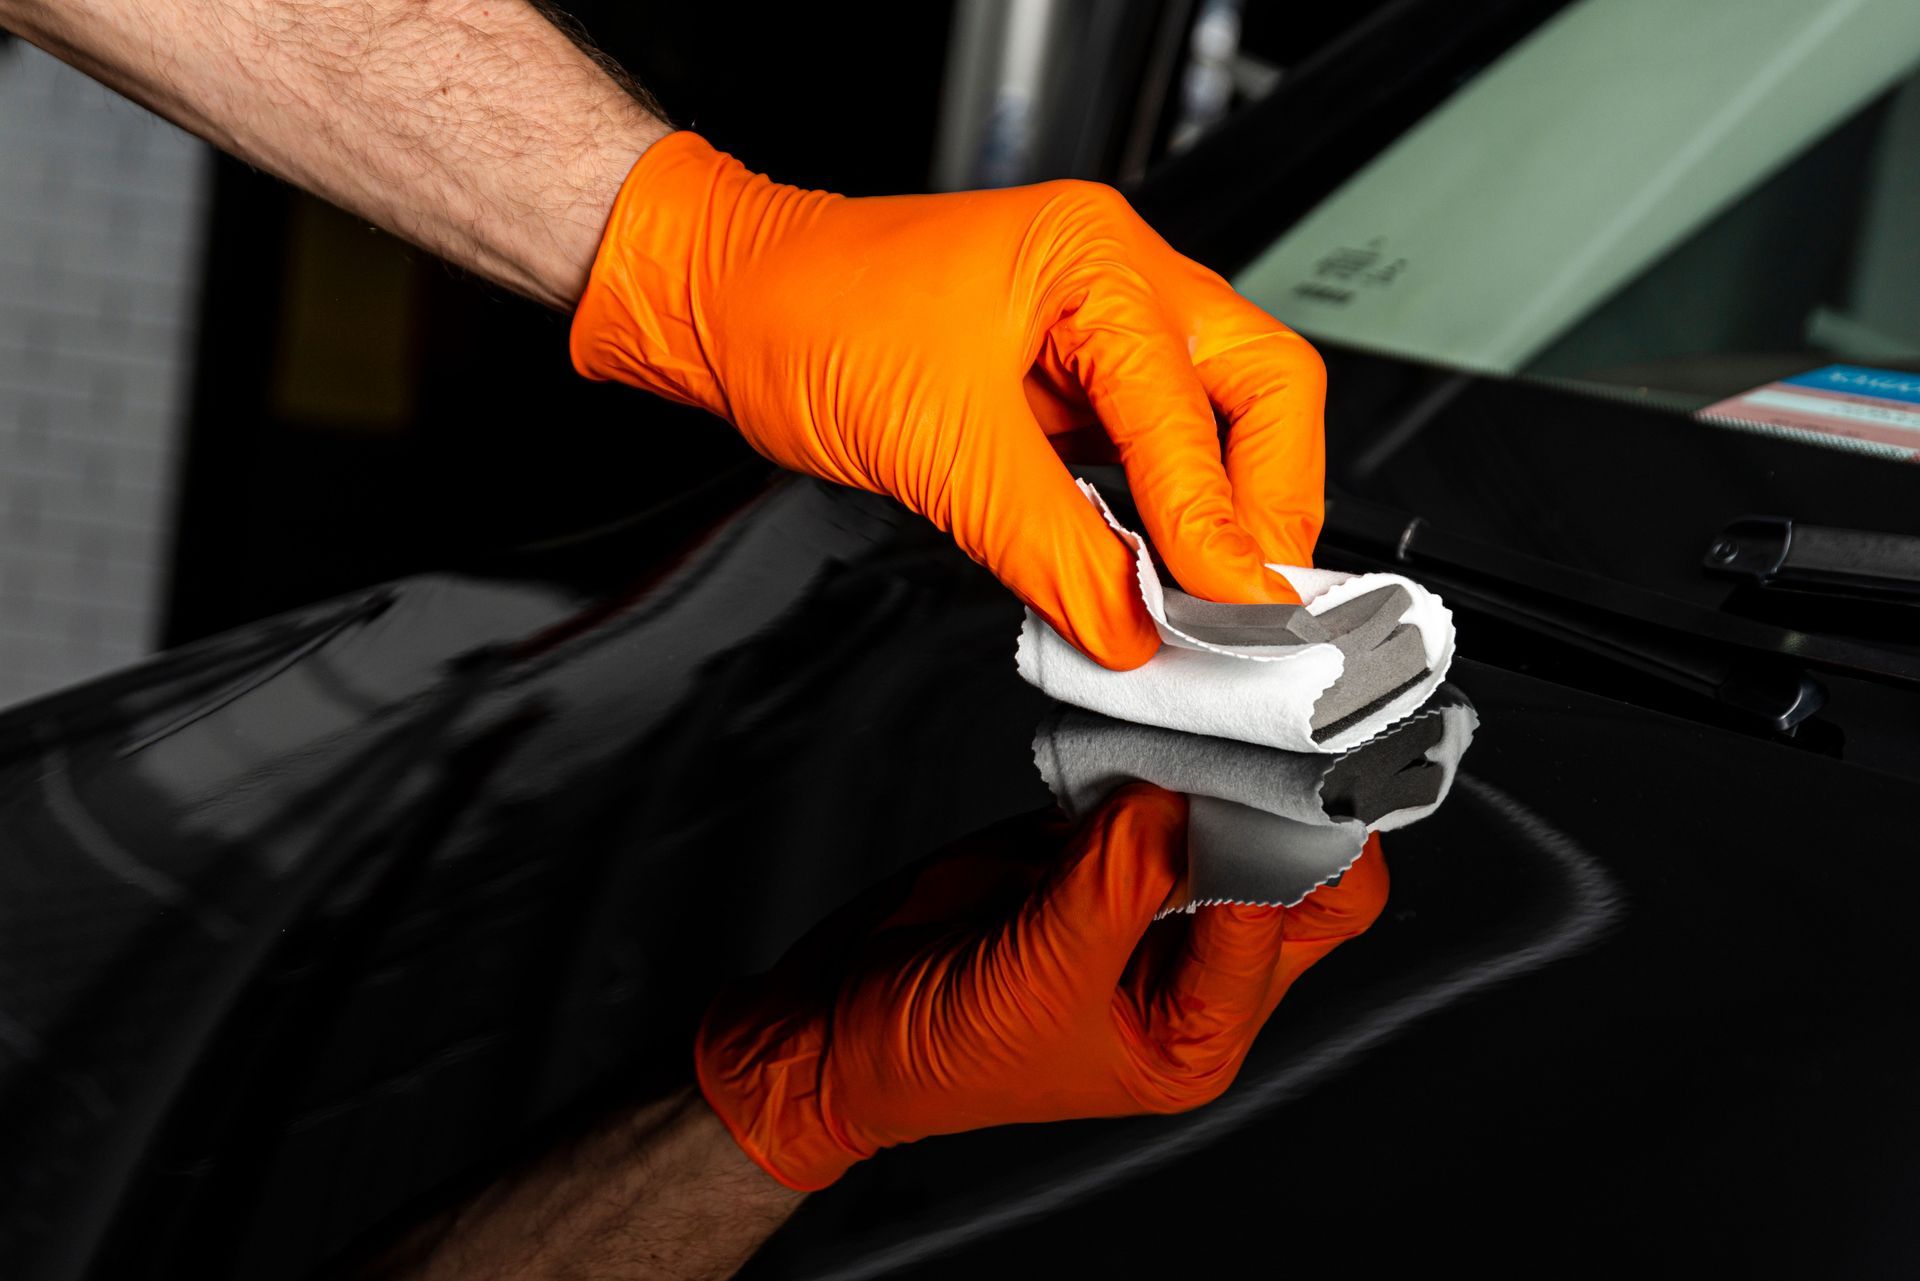
- Final Wipedown: After successfully decontaminating your vehicle, we arrive at the final wipedown—a critical step that solidifies your efforts thus far. This means using a solution of isopropyl alcohol mixed with water to provide a residue-free finish, ensuring that everything from oils to grit has been eliminated before applying your PPF. A microfiber towel is perfect for this task since it traps dust and lint without scratching. Neglecting this last step could lead to poor adhesion, making your precious new film susceptible to lifting or peeling down the road.
In fact, studies indicate that properly prepared surfaces can reduce installation defects by as much as 50%. It's clear that taking time to prepare your vehicle thoroughly pays dividends in durability and effectiveness. With these foundational steps emphasized, we can now shift our focus to potential pitfalls encountered during the trimming and application phases that could challenge even the most careful installer.
Cutting and Applying Mistakes
A big part of installing Paint Protection Film (PPF) involves ensuring that every cut is precise and every application step is executed with care. Poor cutting practices affect the look of the PPF and can compromise its effectiveness over time. For instance, when installers cut the film while it lies over the car surface, they can inadvertently create uneven edges or even scratch the vehicle's paint. This could lead to problems down the line, such as peeling or lifting at the edges.
Common Cutting Errors
One of the most common mistakes made during cutting is failing to use appropriate tools and techniques. Too often, installers will reach for a pair of scissors or a dull blade, leading to inaccurate cuts and jagged edges. According to statistics, 30% of installers report that using dull blades significantly affects their work quality. Conversely, employing an ultra-sharp blade on a cutting mat allows for cleaner cuts that look better and fit more snugly against the car's contours.
Once the cutting has been executed flawlessly, focusing on applying the film correctly becomes paramount for achieving a professional finish. Applying PPF might seem straightforward; however, it too has its challenges. One issue arises from insufficient preparation—such as applying the film in inappropriate temperatures, which can result in film shrinkage or bubbling. Reports indicate that 18% of experts identify incorrect temperature control as a frequent application problem. Understanding ideal conditions is vital; experts advise that installation should occur at room temperature to avoid these pitfalls.
Application Techniques
To further enhance application success, it helps to start from the center of each panel and work outward. This technique reduces the chance of trapping air bubbles and creates an even stretch across the surface. Rubbing or pressing bubbles from the center outwards ensures that they escape, leaving smooth edges around your cut. Furthermore, many professionals recommend utilizing slip solutions—a mixture of water and a few drops of dish soap—which makes positioning easier before adhesion begins.
Navigating through these steps not only bolsters your confidence but also significantly enhances the overall quality and durability of your Paint Protection Film application.
With careful execution throughout every stage, you position yourself for success in this project. Now that we’ve covered essential mistakes and how to navigate them effectively, let’s turn our attention to key methods that can significantly reduce potential issues during installation.
Techniques to Avoid Installation Issues
Navigating the complexities of Paint Protection Film (PPF) installation can feel daunting, but honing a few expert techniques can significantly enhance your results.
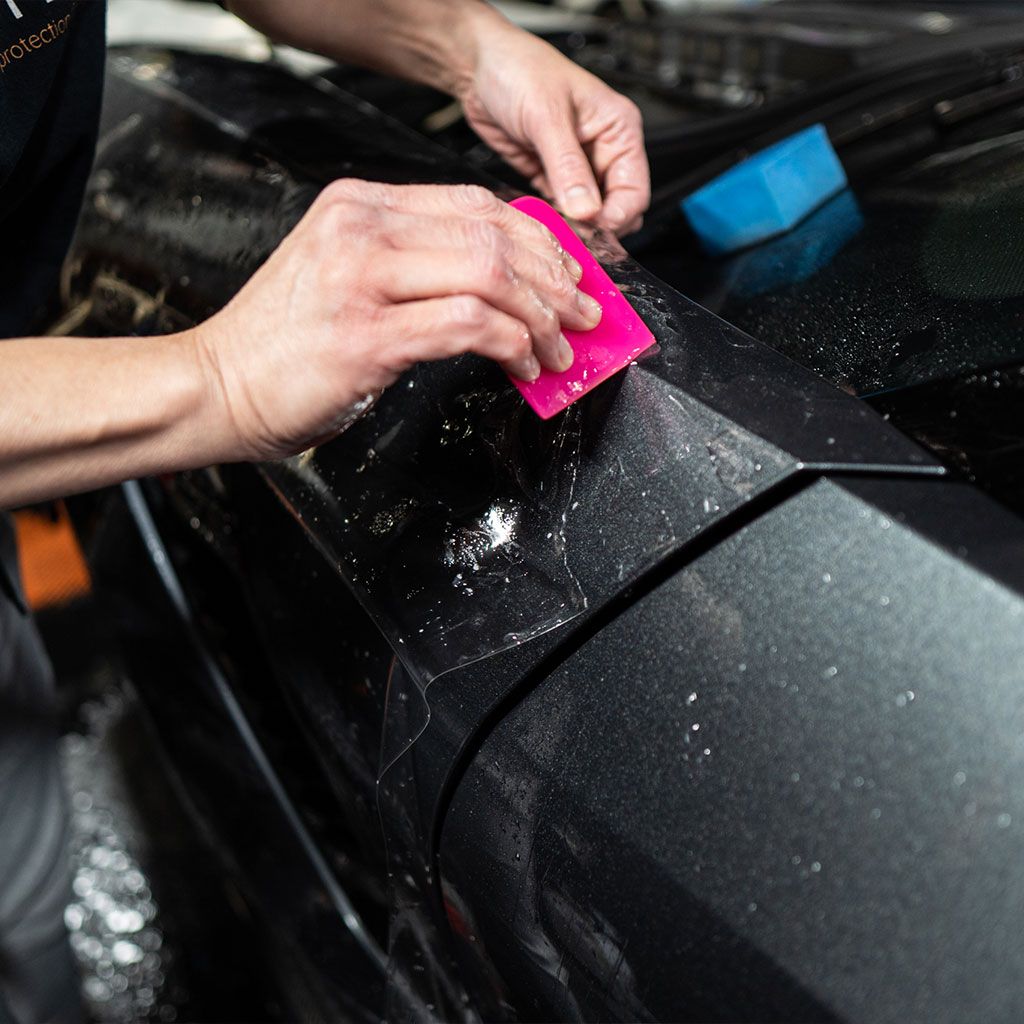
- Squeegee Methodology: Mastering the use of a squeegee is essential for preventing air bubbles and wrinkles during application. Starting from the center of the film and smoothly working outward effectively pushes trapped air toward the edges, minimizing the risk of unsightly bubbles that could mar the finish. Interestingly, professionals often employ variations in squeegee stiffness based on specific job requirements. For example, a firmer squeegee might be used for flat surfaces, while a softer one conforms better to curves, making it easier to achieve that flawless look.
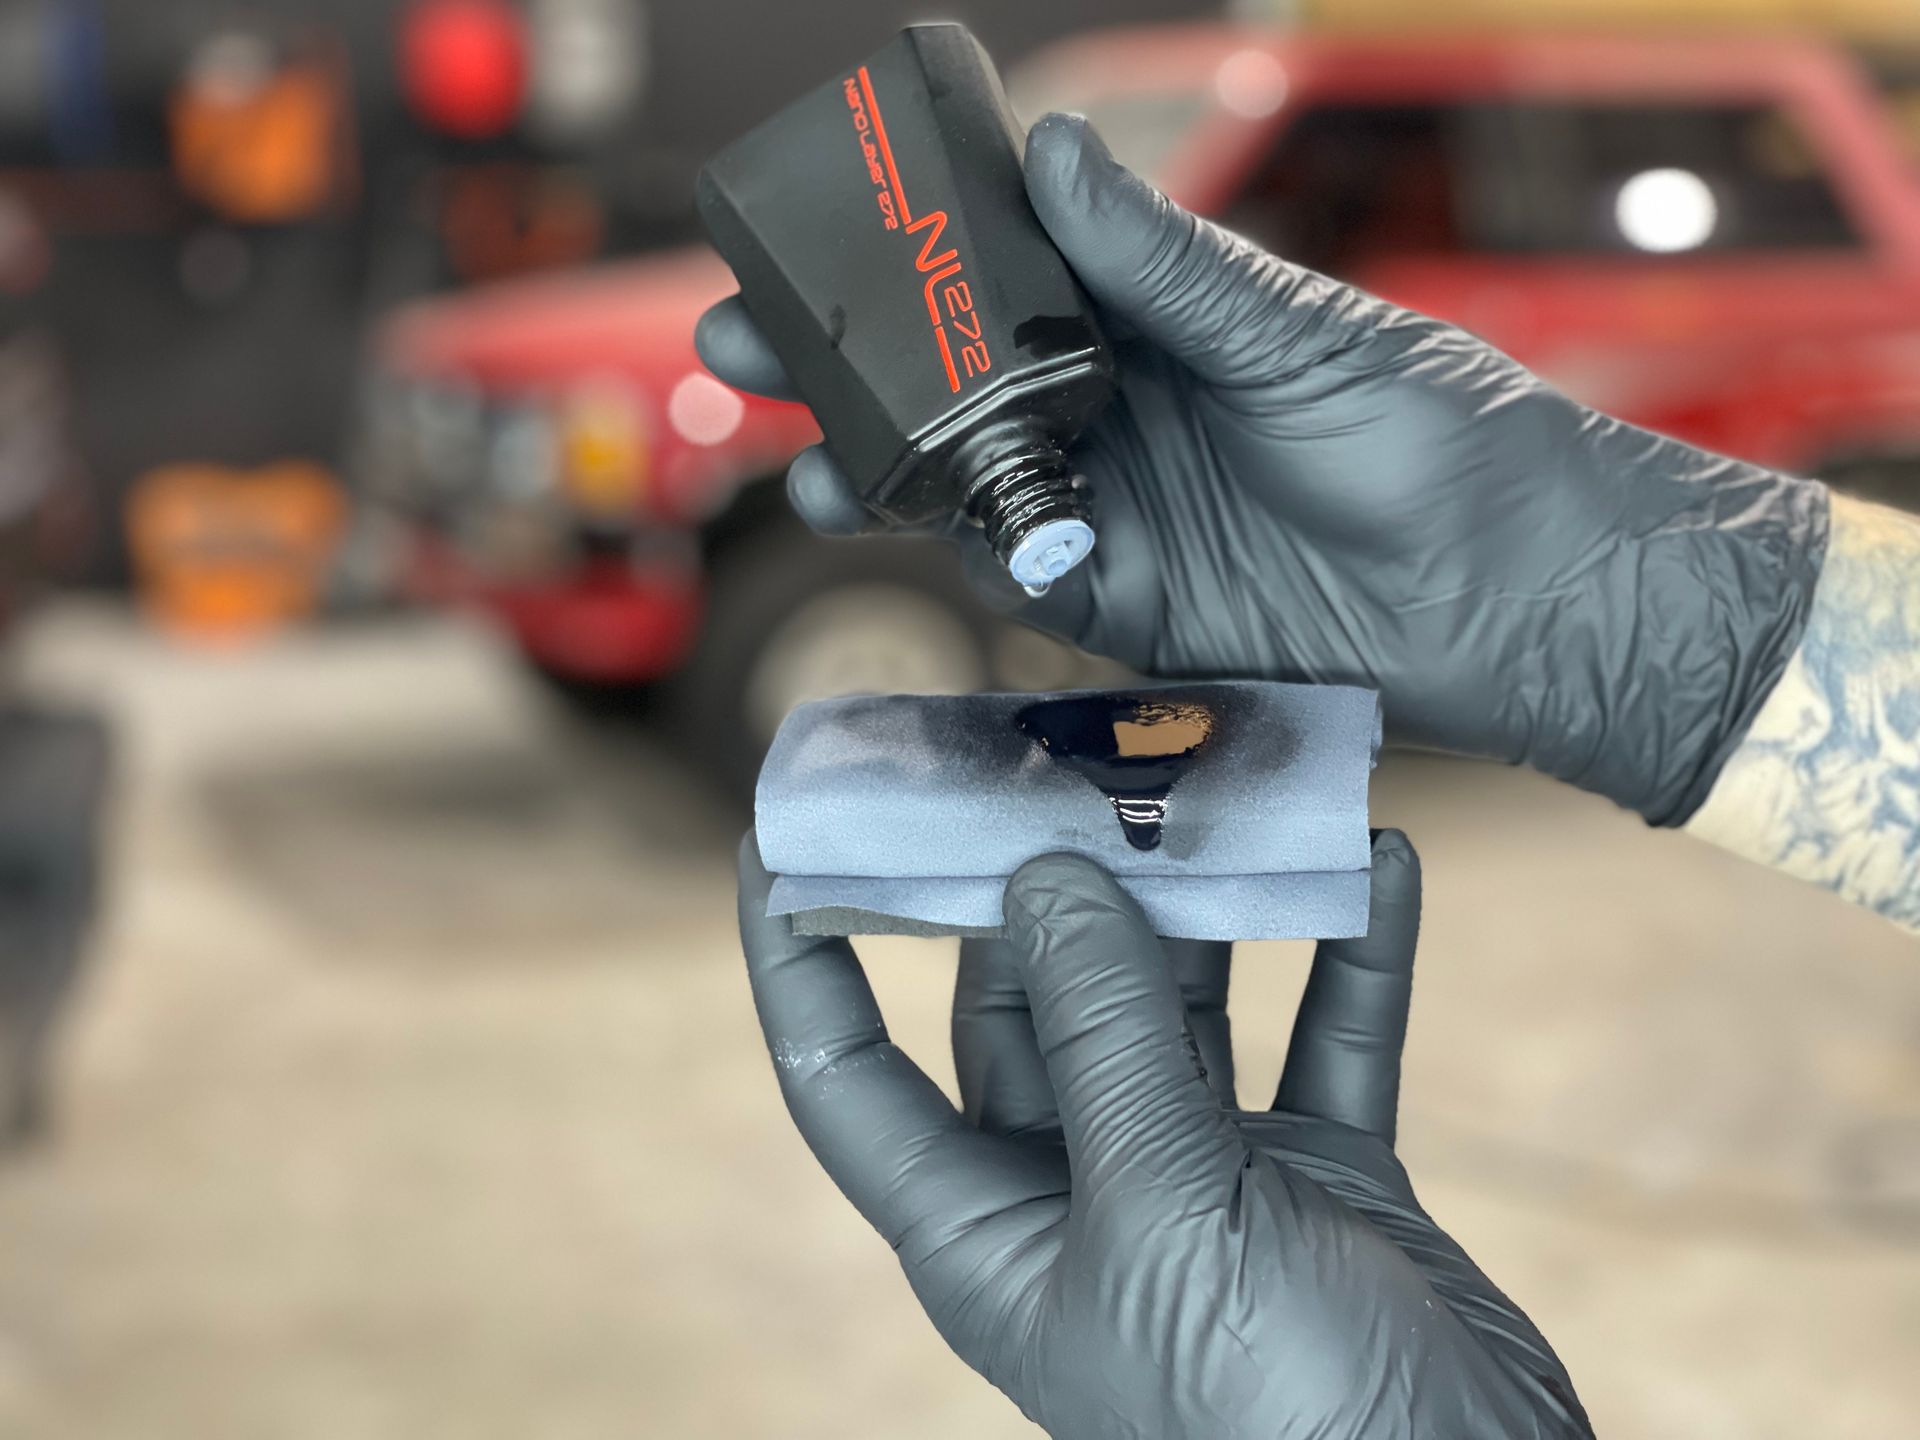
- Slip Solution Use: Another invaluable technique during installation is using a slip solution—typically a mixture of water and a few drops of baby shampoo. This mixture aids in repositioning the PPF multiple times before it fully adheres, making working on large or curved surfaces much easier. The flexible nature of PPF means that perfect alignment is crucial, and using a slip solution allows for adjustments without immediately committing to adhesion. Experts recommend spraying both the film and the car surface with the slip solution; this ensures smoother application and better control over positioning.
- Additional Surface Preparation: 95% of experts emphasize the importance of thorough cleaning and decontamination before installing PPF to prevent adhesion issues. If you're not diligent in preparing the surface, you run the risk of bubbles forming due to dust particles or residue. Start with high-quality car shampoo to wash off dirt, then use a clay bar to remove deeper impurities. Finally, wipe down with isopropyl alcohol—this method ensures a residue-free surface primed for optimal adhesion.
- Temperature Control and Moisture Management: Another critical factor often overlooked during PPF installation is temperature control. About 85% of professionals suggest maintaining an ambient temperature between 70°F (21°C) and 80°F (27°C) while working to keep the film flexible and enhance adhesion capabilities. Furthermore, moisture management is vital; 90% of installers agree that ensuring surfaces are completely dry before applying film helps avoid bubbling problems down the line.
By integrating these simple yet impactful techniques into your installation process, you set yourself up for success while minimizing potential pitfalls. The implementation of these expert methods lays a solid groundwork for quality application—making way for the next discussion on tools needed to elevate your project.

Essential Tools for Quality Application
Having the right tools at your disposal is akin to an artist having a well-stocked palette; they shape the quality of the final piece. In the world of Paint Protection Film (PPF) installation, quality tools can make all the difference by minimizing error margins and ensuring a professional outcome. For starters, you'll need a spray bottle filled with slip solution. This mixture allows the film to glide more freely onto the surface, preventing frustrating bumps or misalignment. It's like knitting—without the right tension, everything falls apart.
Once you’ve got your slip solution ready, it’s time to turn your attention to squeegees, which are indispensable for this task. Next on your list should be squeegees in various sizes and stiffness levels. These flexible tools serve a dual purpose: they help remove air bubbles trapped beneath the film and secure it tightly against the vehicle's surface. Think of them as your best friends during the installation process; without them, you'd struggle with bubbles like a chef attempting to cook without utensils. When selecting a squeegee, ensure that it's easy to grip and maneuver, as this will provide you with better control during application.
But what about those tricky curves that make installations daunting? This is where the heat gun comes into play. A heat gun is vital for conforming the film to curved surfaces. By gently heating the film, you give it flexibility without compromising its integrity; just be cautious not to overheat it. Imagine molding clay—it becomes easier when warmed up! Proper usage of a heat gun ensures that every inch of your film adheres perfectly to any contours of your vehicle, creating a seamless appearance that enhances both protection and aesthetics.
After tackling those curves, you'll also want to ensure that your application surface is pristine. Enter the clay bar. A clay bar is another essential tool designed for surface preparation. It removes contaminants like dirt and grime that could impede proper adherence. Think of it as polishing an apple before putting it on display; cleaning yields better results. Use it carefully to ensure that you’re left with a spotless foundation for your PPF layer.
Don’t overlook drying; this is where microfiber cloths come in handy. To achieve a lint-free finish post-application, utilize microfiber cloths to wipe down surfaces after each stage. These cloths excel in absorbing moisture while minimizing scratches. Using them is similar to having a reliable assistant during cleanup—everything looks better without unsightly marks or residue.
Lastly, we arrive at perhaps one of the most critical aspects of installing PPF—the precision trimming. Having sharp cutting blades on standby ensures you can accurately trim edges without damaging the film or paint beneath it. When handling these blades, approach with caution—precision is key. Think about how important it is for a surgeon to have sharp instruments; this same principle applies here as well!
While having these tools ready is crucial for installation success, turning our focus to expert insights can further enhance your understanding and technique.
Expert Advice on PPF Installation
When it comes to applying Paint Protection Film (PPF), insights from seasoned professionals can dramatically enhance the quality of your work. Imagine stepping into an environment where variables are controlled—temperature, humidity, and air cleanliness. This is where the magic happens. Professionals universally recommend a clean, temperature-controlled space for installation because outside elements, such as dust or changes in weather, can affect adhesion and finish quality. In fact, every minute detail counts.
Even small steps like ensuring good lighting so you can clearly see every aspect of your application can lead to better outcomes. Combined with meticulous prep work—including cleaning the vehicle thoroughly and assessing paint imperfections—you align yourself for success. Remember: the devil is in the details. Taking these precautions before you begin will set the foundation for a beautiful finish.
Professional Tips
A little extra training goes a long way. Experts recommend enrolling in PPF installation courses or workshops. These environments are invaluable for gaining hands-on experience and fine-tuning your skills. Many seasoned professionals vouch for programs offered by reputable companies due to their comprehensive curriculum and practical training sessions.
Moreover, using industry-standard materials is critical. Some installers may be tempted to cut corners by using lower-quality film or tools; however, this often results in unsatisfactory work in the long run. Higher-grade films might have better adhesive properties and self-healing characteristics that not only protect the vehicle's paint but also maintain its aesthetic appeal over time.
After installing PPF, following specific post-installation care instructions is just as important as the installation itself. Avoiding car washes for at least a week allows the film to adhere properly without disturbances. Gentle washing techniques are advised afterward; high-pressure washers can wreak havoc on newly installed layers.
By incorporating these expert strategies and utilizing quality tools, you position yourself not just to install PPF effectively but to ensure its longevity and performance on any vehicle you work on. With careful attention to detail and commitment to professional standards, you can avoid common pitfalls and achieve outstanding results in your PPF installations. Your dedication to excellence will reflect in every project.
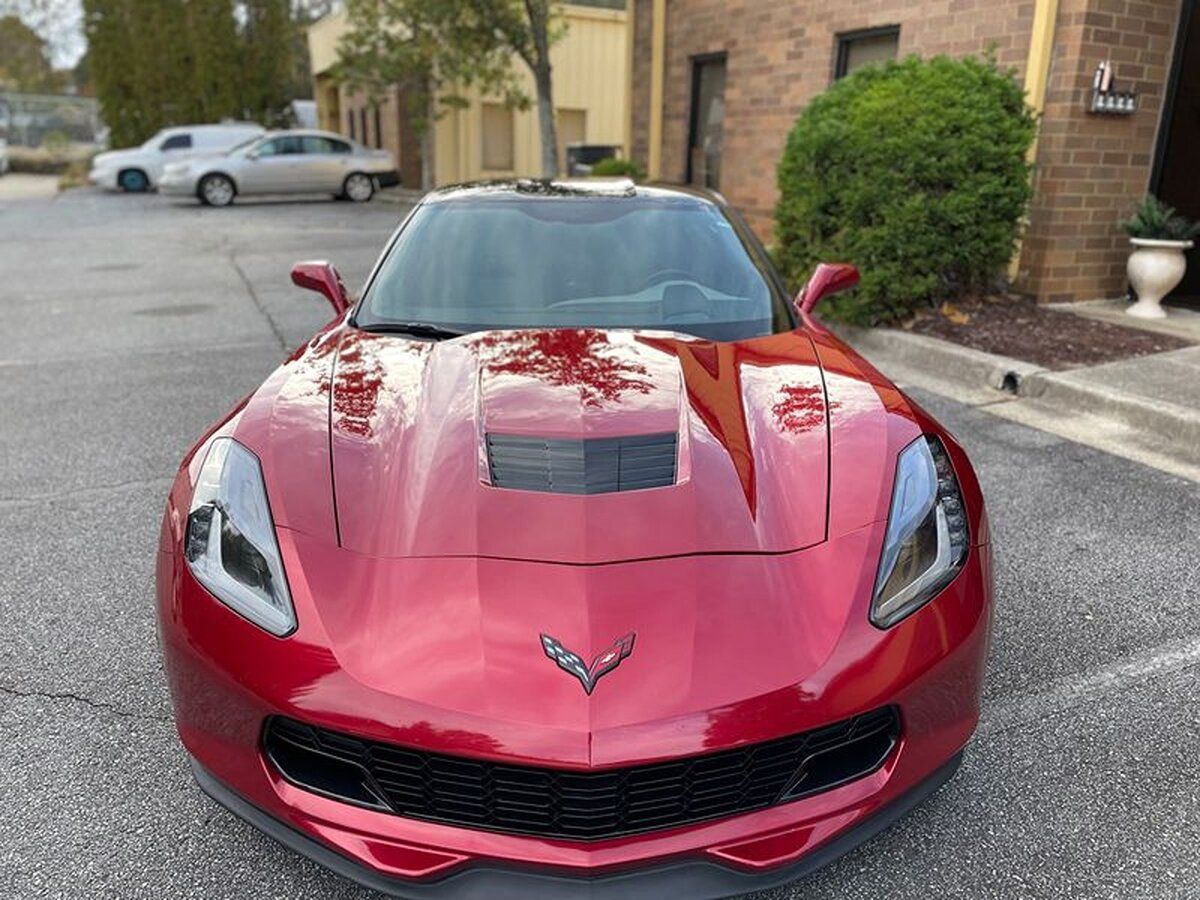
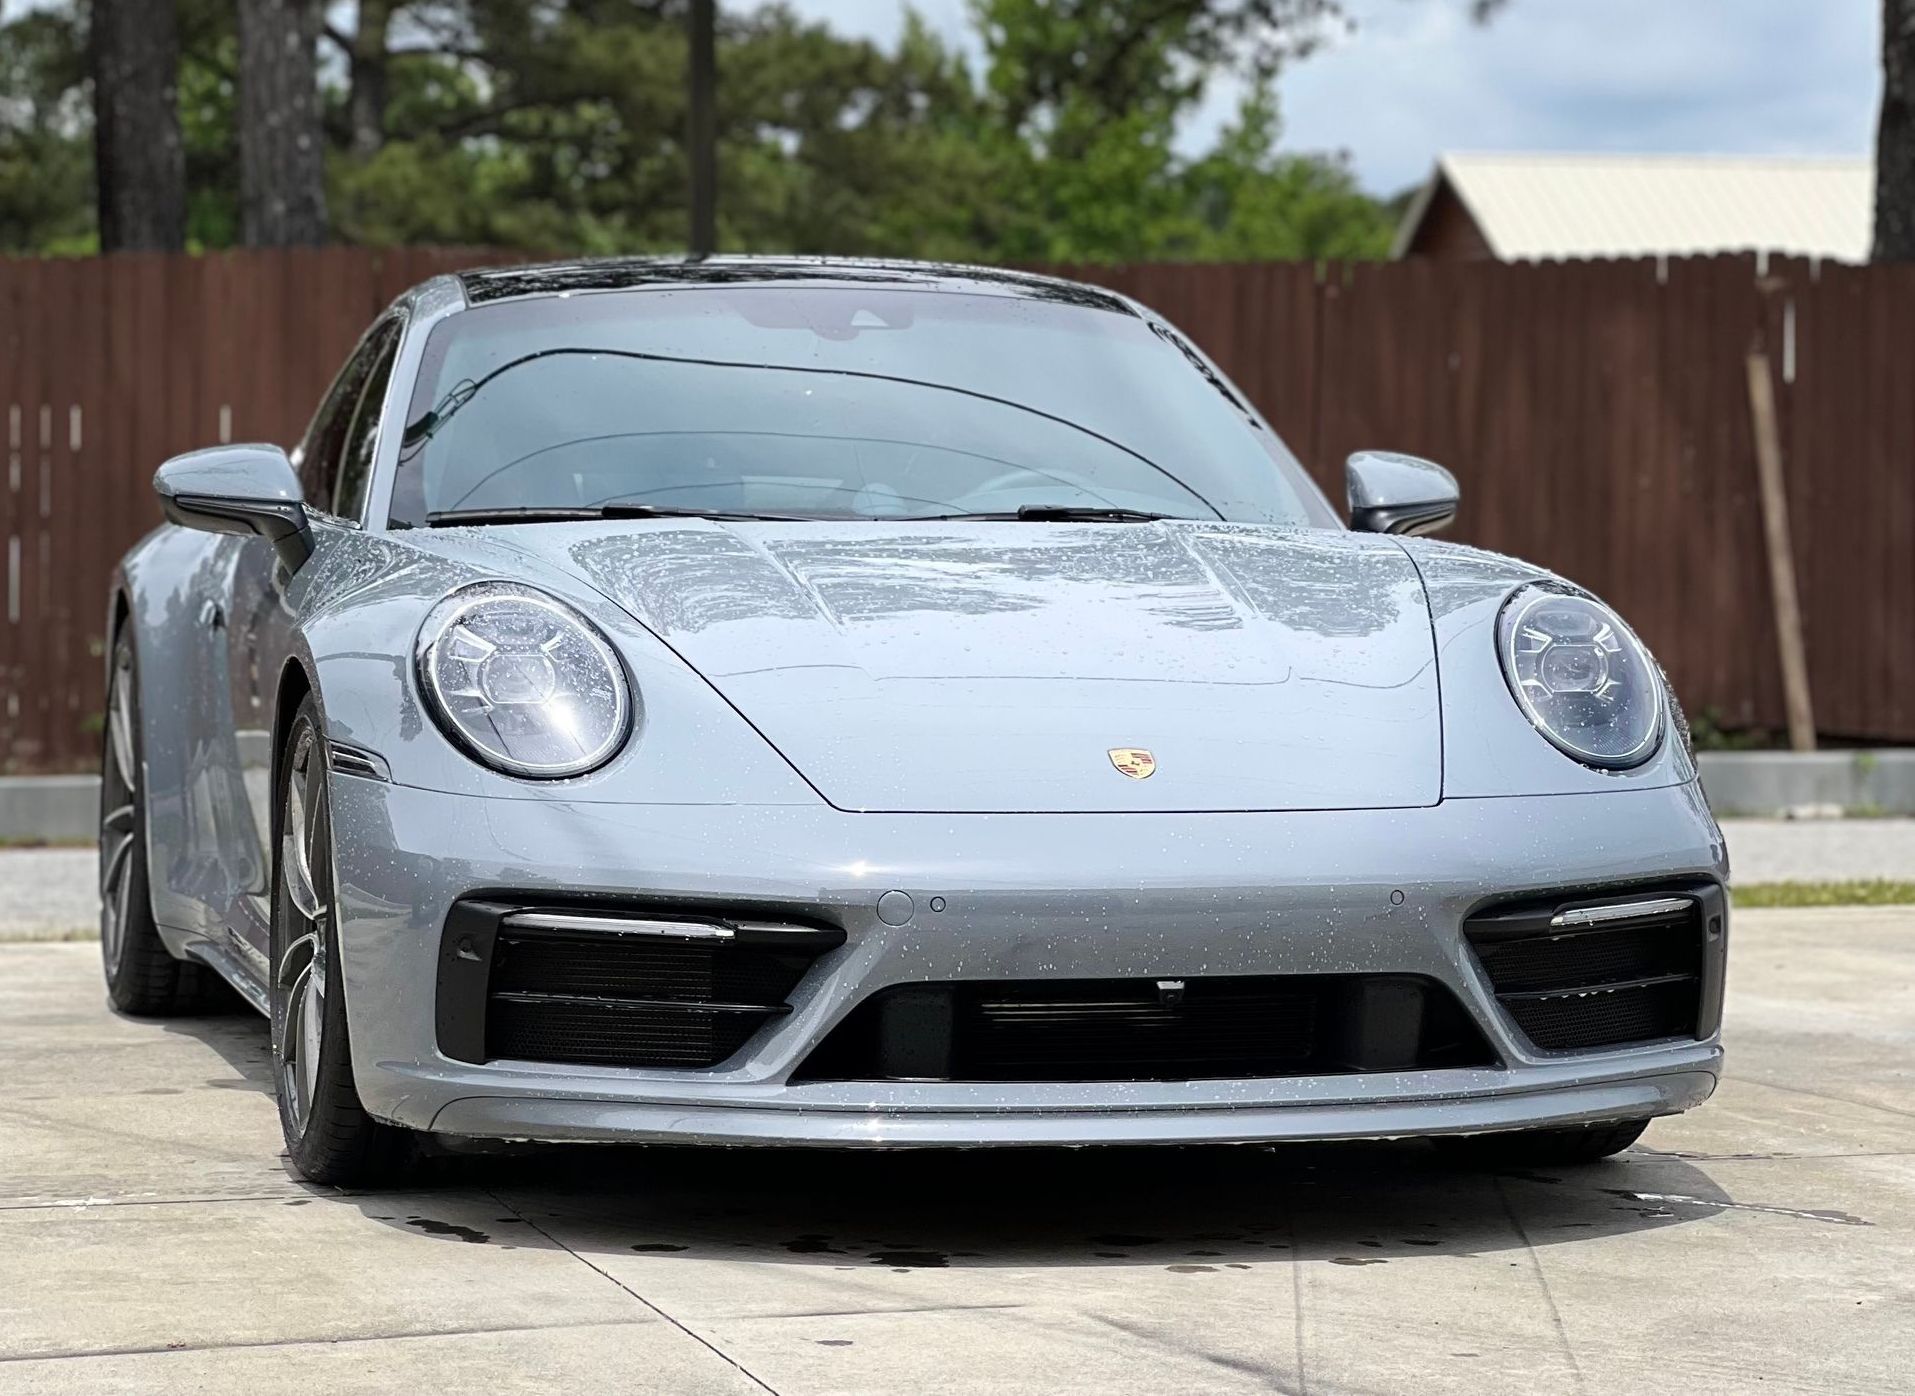
Shield Your Ride with Precision PPF in Marietta, GA
Give your vehicle the ultimate defense against rock chips, road debris, and wear with LeJeune Ceramic Coating & Paint Protection’s premium paint protection film services in Marietta, GA. Our high-performance PPF provides a nearly invisible layer of protection, preserving your car’s flawless finish while making maintenance easier. Whether you drive a luxury vehicle or a daily commuter, our expert installation ensures long-lasting durability and a sleek, showroom-quality look. Protect your investment today—contact LeJeune for a customized PPF solution that keeps your car looking its best for years to come!